Autoflowering Harvest Guide: How to Harvest and Dry Your Autoflowers
Welcome back, friends! After we established our intent, got our workspace prepared and have all of our equipment readied in part 1 of our series on How to Harvest Autoflowers, we’re ready now to get comfortable and start the process. In Part 3 we’ll be covering the final stages of harvesting autoflowers; trimming, storage and curing. But for now, let’s get our plants ready for the ball! So grab those sheers, slap on some gloves, and let’s get it done!

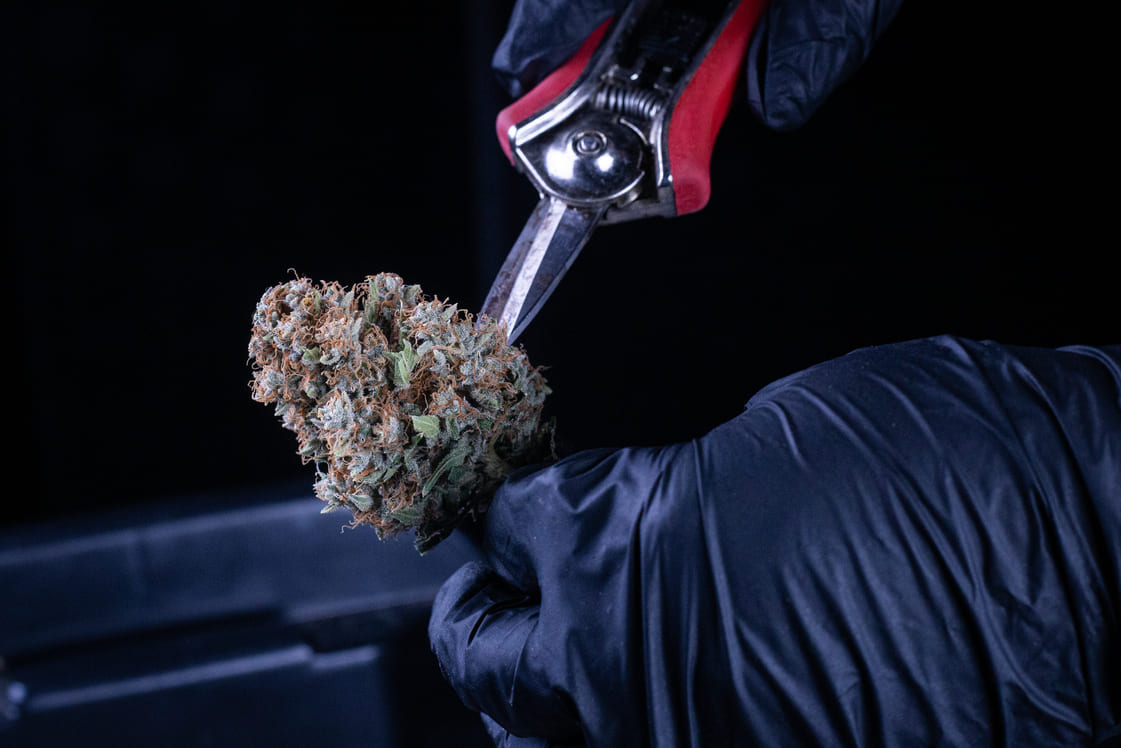
The end goal, a beautifully trimmed nug.
Autoflower Harvest Workspace Preparation
The first actionable step in your autoflower harvest process is establishing a clean and comfortable workspace. You’ll need to repeat this step both on the day you harvest the plants, as well as the day you come back to dry trim them for storage. This is a two-step process separated by the amount of days your plants will take to adequately dry (more on that later).
Harvest Day Workspace
Whether harvesting outdoors, in your grow tents, or in a dedicated workspace, make sure you have your gloves ready, and your shears sharpened and suspended in rubbing alcohol. These two steps will set you up for success when things get sticky. And they get sticky fast! Your first priority should be to get your hang-dry space in order. Make sure there is a clear path between your work area and where the plants will hang to dry. Use this time to also make sure your environmental parameters are locked in for the dry phase. We always try to aim for 60% humidity and between 60-70F degrees with the intention of allowing 10-14 days for the plants to fully dry. Try to get everything labeled and organized before the plants come down. In restaurants, this is called “Mise en place,” or put in place. Lastly, make sure you have arrangements for disposing of the non-useable foliage gained through defoliation. If you’ve got a garden, composting is the move, also livestock love cannabis leaves! For everyone else, save some for juicing if that’s your thing. That, or the waste bin.
Dry Trim Day Workspace
Bring those sheers and gloves back with you for dry trim day! You’ll need them. For this process, try to have more than one pair of trimming shears alternating and keep them suspended in rubbing alcohol between use. This time around you’ll also be bringing the storage jars, making sure you have everything labeled and organized in advance. This will help keep everything expedited. On that note, depending on how many plants you harvest, trimming can end up being a lengthy process. Try to make sure you have a comfortable seating arrangement. When dividing your workspace, make sure your trimming area is front and center. I highly recommend utilizing a Trim Bin or a portable dish both as a trim surface and for moving back and forth from your dry chamber to your trim space with the plant material in tow. This way you can break down the entire plant in your dry into branches while still in your drying space and then transport the branches to your trimming area. Lastly, as you get going. keep your alcohol and sheers on the back end of your work surface on the side of your dominant hand, this prevents cross-contamination of the alcohol droplets as you move your sheers from their holding cup.. Save the other side of your workspace in the back for the storage containers you'll be placing manicured nugs into.
Harvest Comfort & Entertainment
All work and no play will make us all dull growers! Harvest day and trim day are both time and labor-intensive. In the growing community, we often refer to this time affectionately as “Trim Jail.” However, with some foresight and preparation, a few solid comfort and entertainment essentials will go a long way. The first item on the list: hydration. During these harvest and trim sessions, our hands will be gloved and sticky. Whatever your beverage of choice, try to load it with a straw to keep things hands-free. Snacks are also a must. Consider cleanliness and pick munchies that are mess-free and easy to handle. Comfort is key when you are planning to spend hours sitting in the same position. Your best defense against major back and shoulder pain is a comfortable place to sit. Lastly, any form of entertainment that you can bring along to slice through the monotony of trim jail will prove to be your most prized possession. Screens are a solid start: TV, iPads, streaming shows and movies all work great. The only downside with screens is that they can be visually distracting when you are trying to focus on manicuring and/or defoliating. This is where podcasts and audiobooks reign supreme. Pure entertainment for endless hours without the need for your hands or eyes. Of course, a friend or loved one to assist you and keep you entertained will also suffice!

Tools of the trade. Get your entertainment space ready!
Harvest Day Defoliation
Your workspace is set up and it is now time to harvest. We are aiming to extend the dry time as long as we possibly can. Aside from dialing in our dry tent parameters, we can also use this preliminary defoliation process during harvest to help us extend the dry time if needed. For example, if you are dealing with low humidity, keep as much foliage on the plant as possible and harvest your plant whole. Let the plant use that foliage as a moisture buffer in extending your dry an extra day or two. You can then remove that plant material when manicuring. Alternatively, those in high-humidity environments will need to defoliate as much of the non-usable plant material as possible and even consider breaking whole plants down into individual branches for drying. This method is also highly recommended for larger buds and colas to avoid rot.
To defoliate, first target dead leaves, pulling them off by hand or using your shears. Attempt to make as few incisions as possible, so pluck leaves where you can. You are aiming to press the stem between your thumb and index finger, “snapping” away aggressively. This should offer a clean break for most necrotized leaves. After that, go in and remove every fan leaf that does not contain trichomes. You will only leave these if you need the extra help in low-humidity climates. After the plant has been completely stripped of all leaves (with the exception of trichome-laden sugar leaves), you are ready to chop.
Using your non-dominant hand to support the plant, cut through the base of the stalk with your shears, about 2 inches above the lowest branch. Invert the plant and take a moment to observe for any last-minute leaves to defoliate. While the plant is upside down, it's a bit easier to go in and grab a few pesky straggler leaves. Once clear, transport your specimen to its designated hanger within your dry space. Repeat until you have everyone packed in. Seal your space, make sure the lights are off, and wait.
Dry Trim vs Wet Trim
Should I Dry Trim my Autoflower Harvest or Wet Trim?
If you want, you can take the harvest day defoliation one step further by doing the majority of your trimming work during your harvest. This is called wet trimming. Some of the benefits of wet trimming are that it can consolidate the workload as well as save space during the dry process by reducing foliage (which can also reduce mold risk). Wet-trimmed bud also dries faster for this very reason. Wet trimming also has the very real potential of coming at the cost of quality. Often, wet trimming can eviscerate trichomes while also leaving exposed cuts. This can impact the natural processes by which chlorophyll breaks down and leaves the plant. Many argue that wet-trimmed plants can take on “hay-like” aromatic qualities if the drying process happens too quickly. This is one of the main reasons why many growers opt for allowing plants to dry with more foliage attached, and even opt for harvesting plants whole versus breaking them down further. The extra plant material can actually slow down the drying process, allowing for a higher-quality final product with stronger aromatics. Dry Trimming, the process of trimming a plant after it has undergone a drying process, is often said to produce higher quality end product. Growers who dry trim can potentially do less damage to the trichomes by waiting for fan and sugar leaves to become brittle before removing them. That being said, there is more labor and a higher level of precision required when dry trimming to achieve that optimal product. Another con of dry trimming is that leaving extra foliage on the plant during the dry process has the potential to create pockets of high humidity and cause mold. In the end, how you choose to trim will come down to your personal preference. For the following workflow, we are using the dry trimming method.
How to Dry Your Autoflowers
Aim for at least a week, but preferably 10-14 days to adequately dry out your plants before the final trimming and storage process. Make sure to come back and check your space often to make sure the plants are getting proper indirect airflow and that your space is exchanging air adequately. You’ll also want to ensure that your temperature and humidity haven’t spiked. Pro tip: You can eliminate this process by investing in environmental controllers that can give you accurate readings from outside of the garden.
You will know that your autoflowers have dried enough and are ready to be trimmed when:
- Smaller branches snap with ease
- Nugs break away from the stalks without peeling.
- You pinch a nug and there is a nice resistance (not squishy) and plasticity (bounce back).
When you can come back into your tent and achieve these 3 things, your autoflower is ready for the final leg of processing: dry trim and storage!

Hang time! Harvest day defoliation with some stunning hanging Artisanal strains.
Thanks for reading part 2 of our series about how to harvest and dry autoflowers. Now we’re ready for the final leg; part three and how to dry trim and cure your harvested nugs!
Jimbo, signing out!
You can follow along Jimbo's grows and tutorials on Youtube!
Youtube
Or see some of his sick pictures on his Instagram!
Instagram
related blogs.
Check out these other blog articles.


